
This is an easy oat milk recipe that can be used by anyone with a blender and a strainer. I got the idea from several different recipes many years ago, so I don’t have a specific website to reference back to.
To make the “milk” first gather your tools and ingredients. Get a blender, a mesh strainer, a container to store the oat milk in, a spoon, 1 cup of oats (certified gluten free if needed), and 3-4 cups of water. If you’d like the oat milk to be sweetened or flavored you can also get add ins, like some dates and vanilla extract. I’ll just be discussing the basic unsweetened option, but feel free to experiment and make it your own later.
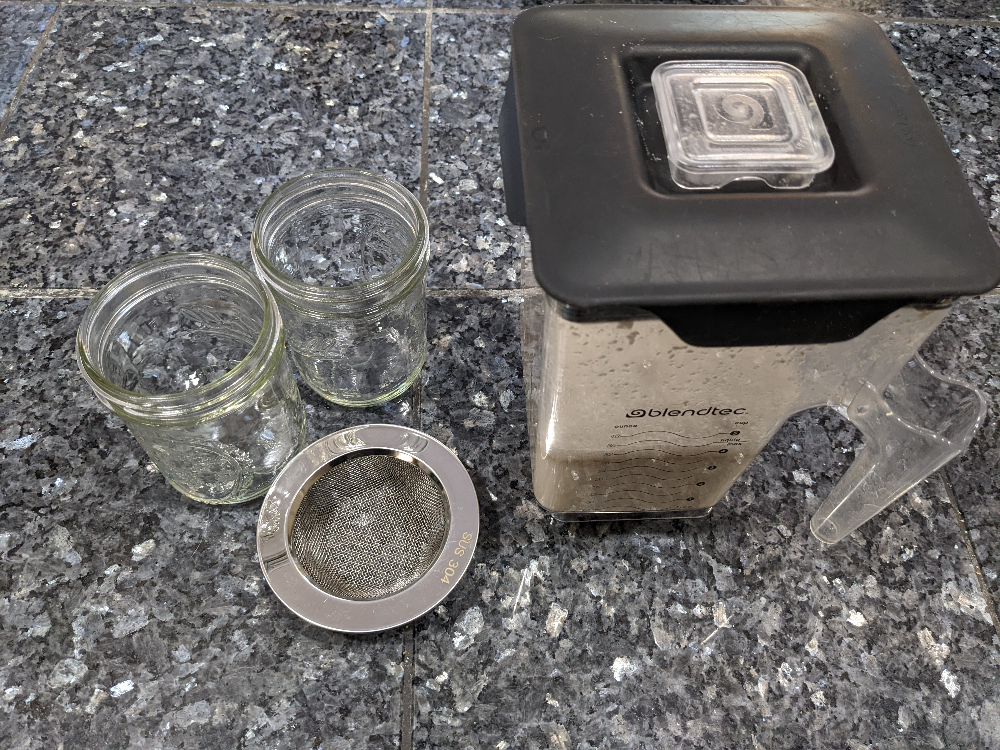
Add the water and oats to your blender and blend for 15 seconds. If you blend any longer than that the oats may get slimy. Next take your strainer and put it on top of the container you’ll use to store the “milk.” Pour the blended mixture through the strainer into the container, stirring the pulp when it begins straining slowly. You may need to scoop out the pulp and set it in a separate dish to allow you to strain all of the milk you made.
Now here’s a tip I learned from Three Rivers Homestead on Youtube: Use a stainless steel sink strainer on a wide mouth mason jar to make straining even easier. There’s no handle, so it will just rest comfortably in the storage jar.
Now let’s figure out what to do with the pulp. Well, my kids actually like to eat it as is with a bit of maple syrup on top. You can also add the pulp to a batch of overnight oats or regular oatmeal, or even add it to pancake batter, cookie dough, bread dough, or another type of baked good.

You can use this oat milk for regular drinking or baking, or just to get you a few more days before needing to head to the grocery store to get your preferred milk type. The oat milk will separate when it’s been sitting for a while, so give it a shake and use as you’d like.
I hope you enjoy!