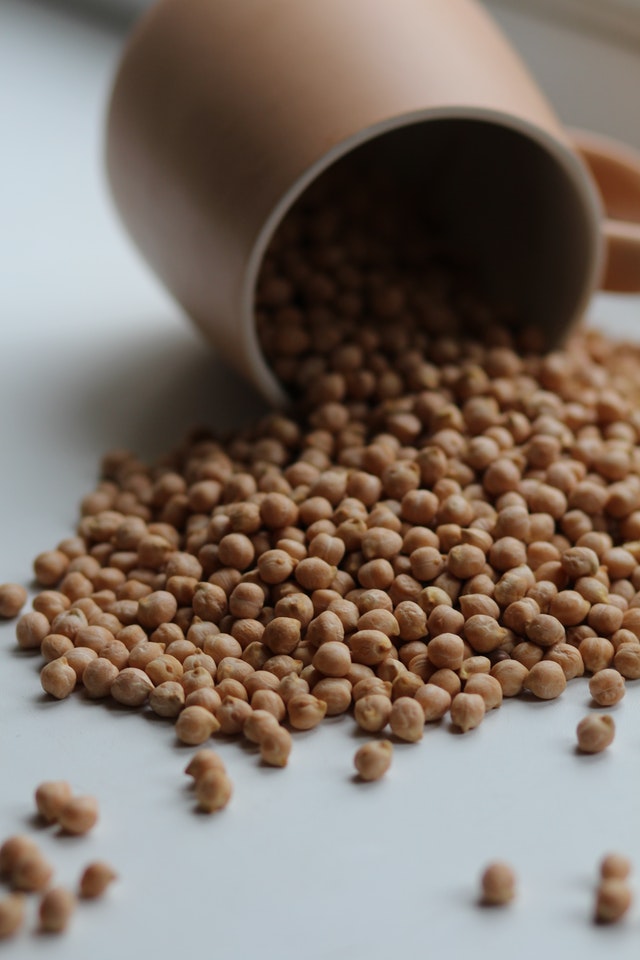
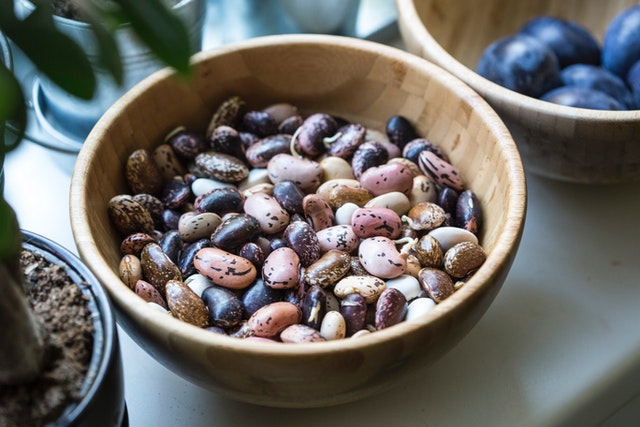
I love beans. They’re so versatile, inexpensive, and satisfying. I cook up a large batch of dried beans several times per month and use those beans as the base of many meals. Even if I haven’t thought through a full meal plan, I know that I’ll be satisfied with something as simple as some black or pinto beans and cashew cheese on a tortilla or masa cake.
There are lots of ways to cook dried beans, but none is as simple as putting them in a pressure cooker. My favorite pressure cooker is the Instant Pot because it times the cooking for you and is fairly hands off, but any pressure cooker will do the job. That being said, make sure to reference your own pressure cooker’s needs as they all have specifications for minimum and maximum amounts to add, as well as requirements for water quantities, etc.

You can pressure cook beans whether you’ve soaked them ahead of time or not, but the cooking times will vary significantly depending on if they’ve been soaked. Cooking unsoaked beans goes like this:
- Thoroughly rinse the beans.
- Add them to the pressure cooker with plenty of water.
- Pressure cook for the length of time specified for unsoaked beans.
- Release the pressure from the pressure cooker.
Soaking beans can be a bit daunting to the new bean cook, but once you figure out a good system for yourself I promise it’s worth it. Here’s how I soak and cook my dried beans:
- Thoroughly rinse the beans.
- Add them to the pressure cooker pot with enough water to cover the beans by several inches.
- Put the pot in the refrigerator for 1-2 days.
- When you’re ready to cook the beans, pour out the majority of the soaking water and then put clean water in the pot to cover the beans by at least one inch.
- Pressure cook for the length of time specified for soaked beans.
- Release the pressure from the pressure cooker.
Another simple way to cook beans is done with just a lidded dutch oven, a stove, and an oven. I learned this method from The Homemade Pantry. This method doesn’t require preparation ahead of time, but it does take several hours to prepare immediately before serving. Using this method goes like this:
- Preheat your oven to 250°F.
- Thoroughly rinse the unsoaked beans.
- Add the beans to a dutch oven with at least 3 times as much water as there are beans.
- Cook the beans on the stove until they reach a roaring boil.
- Put the lid on the dutch oven and transfer it to the oven.
- Cook the beans at 250°F for 3-5 hours. Take the beans out of the oven when their texture is to your liking.

Now here’s one of my favorite tips: freeze those cooked beans. Not all of them, but whatever you don’t need immediately. Strain the beans, add them to a pint size glass jar (a reused 16 ounce salsa container works well), let them cool completely in the refrigerator, and put them in the freezer. If you want to save the liquid, make sure to leave an inch or two of headspace for the liquid to expand into as it freezes. Later on, whenever you need a can of beans for a recipe you can use one of your homemade pints of beans. Just put the jar in the fridge the night before or pop the glass in the microwave for a minute or two when you’re prepping dinner. And that’s how to (almost) always be able to use dried beans in your cooking.
One last thing: it’s okay to use canned beans, sometimes or always. If the extra step of making homemade beans causes you to not want to cook, then stick with canned beans. But if you’re interested in using dried beans, I encourage you to try out one of these methods. I think you’re going to like what you create.